Movement on the Western Front - Dioramas Part 1
Part 1 - Demolition
When the Western Front dioramas were previously placed in their current positions when the gallery opened in the 1970s, they were dismantled in (now) Aircraft Hall, and moved in as separate sections and re-joined with plaster and fill material in the space. At that time, the dioramas were not considered National Collection items, a status they gained in the 1990s. As National Collection items, and even if they weren’t, our approach today is to avoid sectioning the dioramas and to move them, where possible, as a single unit.
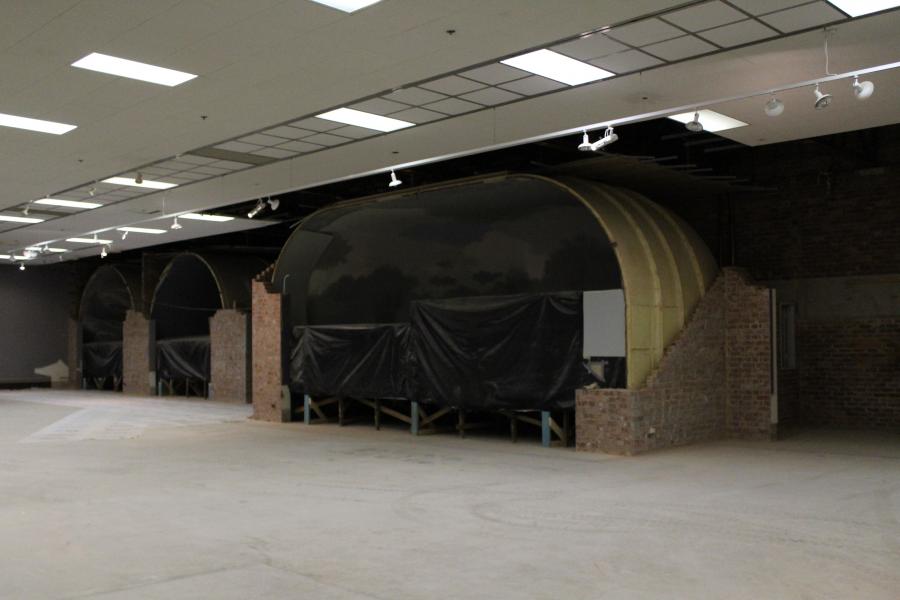
Those familiar with the galleries would note that the sides and height of the five dioramas and their backdrops extend well beyond the window aperture in the brick wall they sat behind. With magic not being a valid option, we had to travel down the route of having the solid Canberra red-brick wall running along the entire western side of the Western Front gallery being removed essentially brick-by-brick with the dioramas and their backdrops still in place!
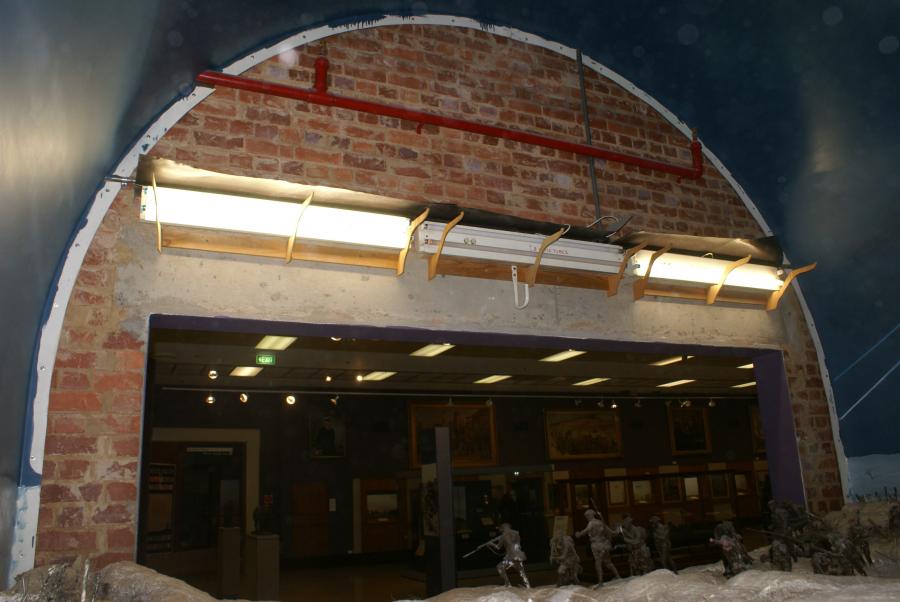
View looking out from behind Bullecourt showing extent behind the brick wall
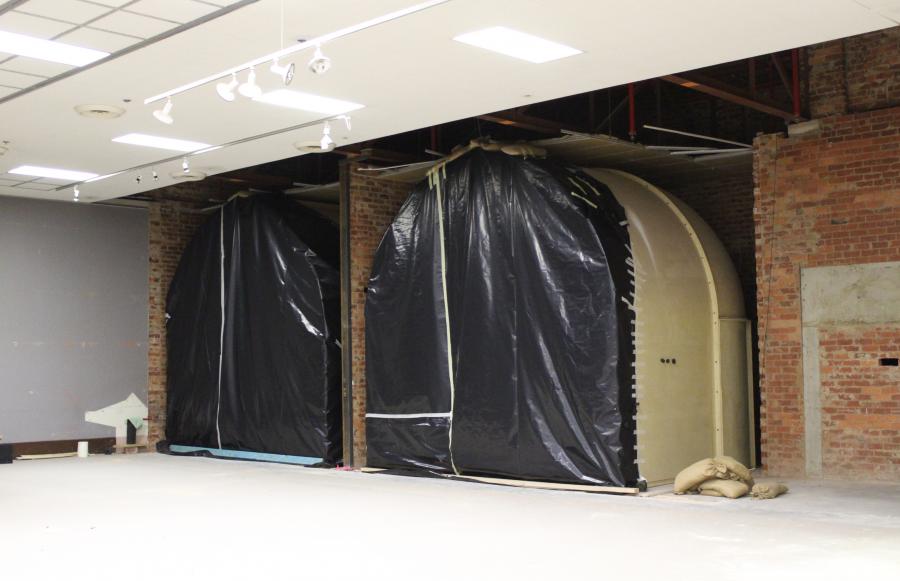
Thorough protection of the dioramas was required, involving a plywood ‘pergola’ built by Workshop to cover the surface, with Conservation then adding layers of foam, thick cardboard and wrapping them in thick black plastic to provide accidental impact protection and avoid brick and mortar dust settling.
Workshop’s ‘pergola decking’ protection over the Ypres and Bullecourt diorama base surfaces.
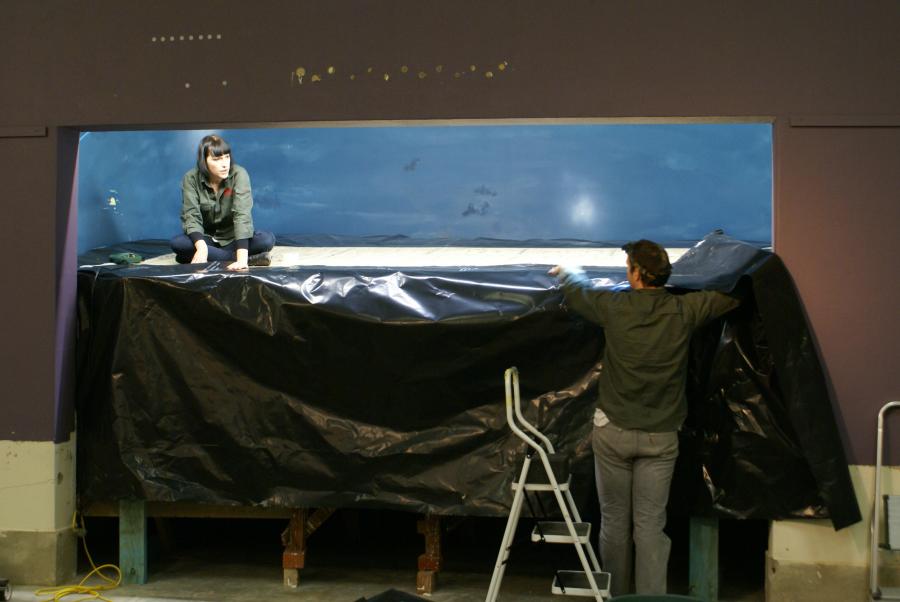
Conservation providing additional protection over Bullecourt
With all this protection and the careful work of the Manteena demolition team on separate scaffolding and elevated work platforms, the risk of leaving the dioramas in place during removal of the wall (non-structural and not part of the new gallery design), was greatly favoured to deliberately cutting the five dioramas into minimum 3 pieces at the front, in order to remove them from behind the wall before it was demolished.
The beginning of brick wall demolition....
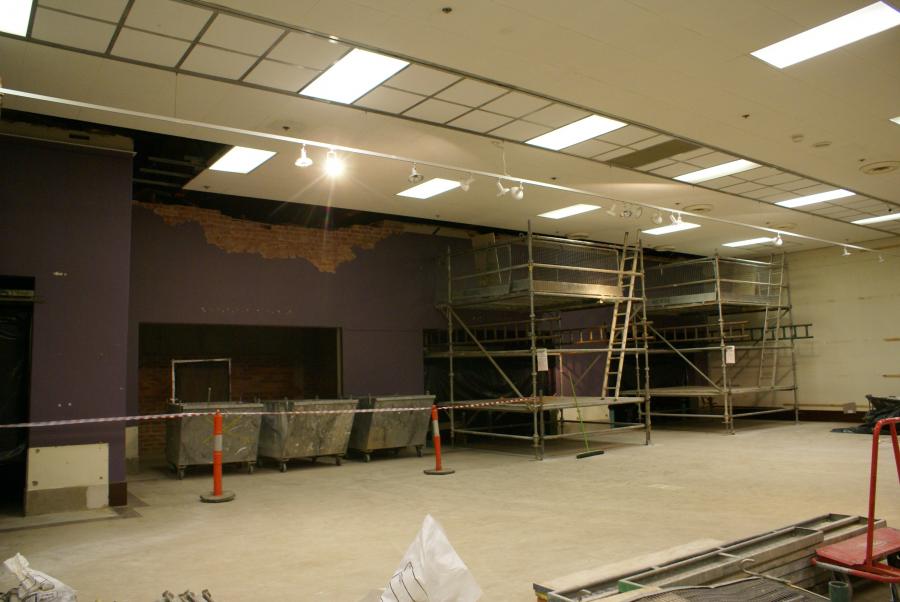
Demolition continues at night brick by brick...
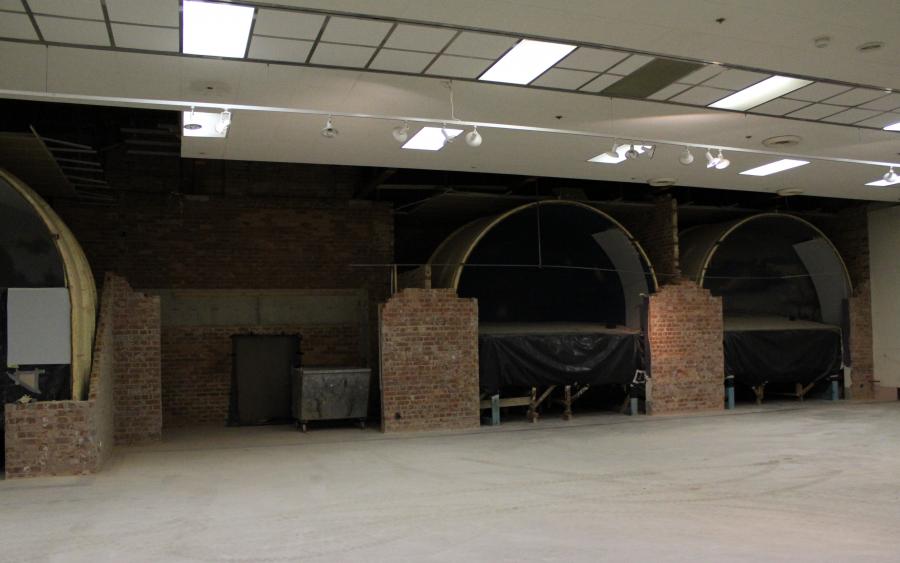
Revealing the diorama structures (Pozieres and Somme Winter) behind...