75th anniversary of Operation Market Garden
This week marks the 75th anniversary of what was, at the time, the largest airborne operation of the Second World War.
The operation was split into two parts. “Market” was the airborne assault carried out by the First Allied Airborne Army, made up of the US 82nd and 101st Airborne Divisions, the British 1st Airborne Division, and the 1st Independent Polish Brigade. Their objectives were to capture vital bridges along the proposed line of advance by XXX Corps. No. 38 and No. 46 Group of the Royal Air Force’s Transport Command and the US Ninth Troop Carrier Command carried paratroopers and glider infantrymen into battle.
“Garden” was the ground assault made by the British XXX Corps. Their objective was to advance through Holland over the bridges captured by the airborne forces and beyond Arnhem to the Dutch–German border in preparation for an attack across the Rhine that would cut Germany off from its industrial heartland, the Ruhr.
It was thought that Operation Market Garden would deal Germany a blow from which it could not recover, and potentially end the war by Christmas 1944. But it would be prove to be anything but a quick advance to victory.
Australian aircrew serving in the Royal Air Force’s Transport, Bomber, and Fighter Commands played small but prominent roles during the ill-fated operation. They were responsible for carrying paratroopers and glider infantry to their drop zones, delivering supplies, and bombing and strafing German troops, vehicles, and positions throughout the operation.
17 September:
Operation Market Garden begins as British and American paratroopers and glider infantrymen are delivered to their drop zones. As the operation is carried out in daylight, the rate of misdrops was quite low. By the end of the first day, only the Nijmegen Bridge remained in German hands.
Flying Officer Tom Hall, an Australian fighter pilot serving with No. 175 Squadron, RAF, equipped with rocket-firing Hawker Typhoon fighters, took part in ground attack operations in support of the ground offensive.
His squadron had arrived at its new home in Antwerp on the morning of 17 September and had been subjected to German artillery fire soon after the arrival of the squadron’s aircraft. Once the barrage lifted, the pilots were briefed for two operations. The first was to attack “German guns and soldiers in the woods and on both sides of the road to Eindhoven that were holding up our troops”. After the first attack the Typhoons followed up with two cannon runs, giving the British infantry and tank crews renewed impetus. During the second attack, on a troop formation in the village of Valkensward, the pilots delivered rockets and cannon fire and set off a huge explosion which was thought to be an ammunition storage area.
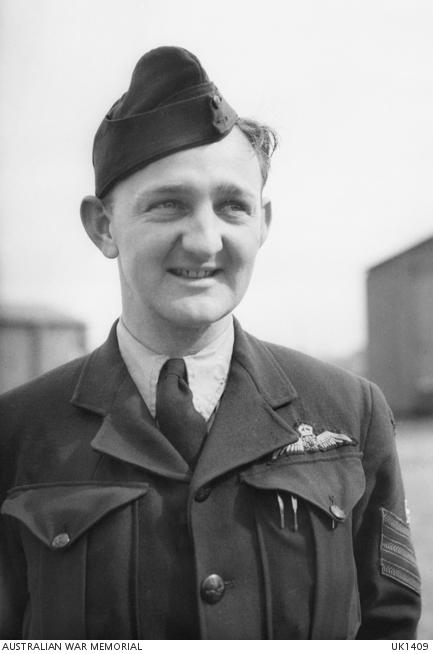
Portrait of Flight Sergeant K. Prowd, Second World War, UK1409
18 September:
On the 18th of September, Warrant Officer Keith Prowd, an Australian pilot serving with No. 196 Squadron, RAF, and his crew were asked to fly a resupply operation to Arnhem as one of the squadron’s aircraft had become unserviceable. Prowd’s crew agreed to go. Their aircraft, Stirling MKIV bomber code named “V for Victor”, was loaded with supplies for British paratroopers. The crew for the operation were: Warrant Officer Keith Prowd, RAAF (Pilot), Flying Officer George Powderhill (Navigator), Sergeant Dennis Matthews (Flight Engineer), Pilot Officer John Wherry, RAAF (Wireless Operator), Flying Officer Reginald Gibbs, RCAF (bomb aimer) and Flight Sergeant Jim Gordon, RCAF (rear gunner). Also on board were Drivers William Chaplin and Frederick Smith, air despatchers from the 63rd Airborne Divisional Composite Company, RASC. It fell to these two men to push the supplies out of the aircraft over the drop zone. Two other men were on board the aircraft, Flying Officer Frank Chalkley, RCAF (navigator), who had been cleared to fly, and Air Mechanic 2nd Class Len Hooker of the Royal Navy, who had not been cleared to join the crew.
As Prowd’s Stirling neared the drop zone, it was hit by flak, setting the outer port engine on fire. In the rear of the aircraft, the air despatchers started pushing supplies out of the side door. Two more engines were hit in quick succession and the aircraft began to burn fiercely. Prowd ordered the crew to bail out.
George Powderhill, Reggie Gibbs, John Wherry, and Jim Gordon were all shot at as they parachuted to the ground. Powderhill made it to the ground, but was killed by a burst of machine-gun fire as he ran towards a wooded area. Gibbs was hospitalised by the Germans, but in a cruel twist, was killed when German troops threw grenades into the hospital. Wherry and Gordon had been wounded by small-arms fire during their descent, but survived and were taken prisoner.
Prowd was last out of the Stirling and made it safely to the ground. He was captured by German soldiers soon after. He was treated quite roughly, being pistol whipped by a German officer and relieved of his watch and a signet ring. He was reunited with Wherry and Gordon soon after and the three men spent the rest of the war as prisoners. They were liberated in 1945 by the Russians.
Dennis Matthews bailed out on a supply pannier, but was dead when the pannier hit the ground. It was presumed he had been killed during the descent. Driver Chaplin was taken prisoner but died of his wounds. Driver Smith’s body has never been recovered. Len Hooker’s body was recovered near where Prowd had been captured. He was the only member of the Royal Navy to be killed during Operation Market Garden.
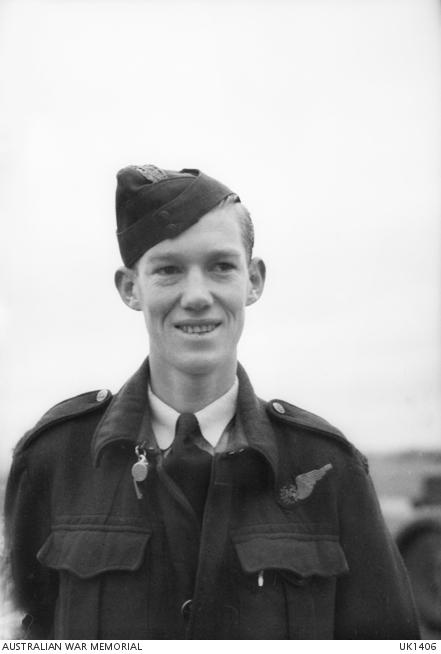
Portrait of Flight Sergeant J.J. Wherry, Second World War, UK1406
19 September:
Weather played a hand in delaying the transportation of the Polish Brigade to Arnhem by half a day. When the weather did clear, 44 tugs and gliders were despatched, carrying the brigade’s anti-tank battery, and 165 supply dropping sorties were authorised. Further disaster befell the Poles, as the fighter cover over Holland had arrived too early and had departed by the time the transports arrived. German fighters and flak took their toll, shooting down thirteen aircraft with another 106 being damaged. To make matters worse, the drop zone for the supplies had been recaptured by the Germans, but the transport aircraft had not been warned.
The Polish paratroopers were not able to be dropped until the 21st of September, due to a combination of bad weather, a lack of aircraft and overall poor planning. By this time their landing zones east of the town of Driel were under German fire. The last of the brigade was dropped near Grave on 26 September, the day after the British had withdrawn back across the Rhine, and told to march to Nijmegen. In all, the 1st Independent Parachute Brigade had lost 25% of its fighting strength.
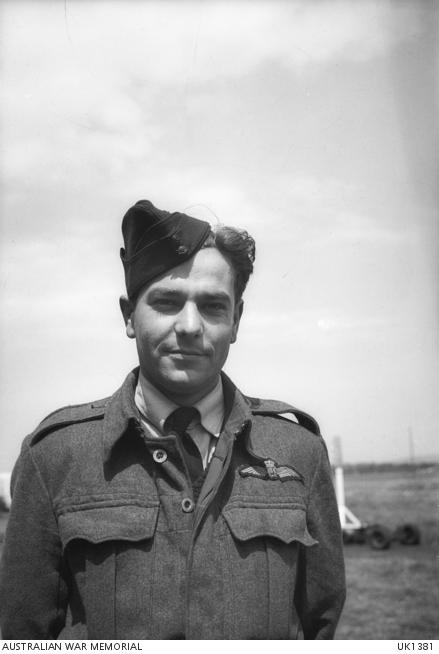
Portrait of Warrant Officer George Oliver, Second World War, UK1381
20 September:
Warrant Officer George Oliver, serving with No. 196 Squadron, RAF, and his crew were shot down during a re-supply mission to Arnhem. Cloud cover had forced Oliver to fly at 800 feet over Belgium and into the Netherlands. A German Messerschmitt Bf109 slipped out of the clouds and fired a burst into the Stirling’s port wing. With his wing on fire and his aircraft losing height, Oliver was forced to crash land.
He later recounted his flashing thoughts: “Real trouble – what to do? – bale out? – eight on board, too low – open space – have to crash land.” Oliver lined up his aircraft and brought it down in a farmer’s paddock: he recalled the image of the Stirling’s nose filling up with potatoes as the aircraft ploughed through the field.
Aside from scrapes and bruises, all of the crew survived the crash and were rescued by British infantrymen. After being feted by the townsfolk of Westerhoven, the crew eventually made their way back to Britain and a spot of well-earned leave.
Tom Hall led his flight of rocket-firing Typhoons from No. 175 Squadron, RAF, against Antwerp Fort No. 1, from which German artillery had been intermittently shelling their airfield. All the rockets hit the fort but the fate of the German artillery was not mentioned.
That evening the British paratroopers still holding out at the Arnhem Bridge surrendered. The last radio transmission received was “out of ammo, God save the King.” Sadly for the British, it was only the Germans who heard the broadcast.
21 September:
British paratroopers establish a defensive area around the town of Oosterbeek and face increasingly heavy German attacks.
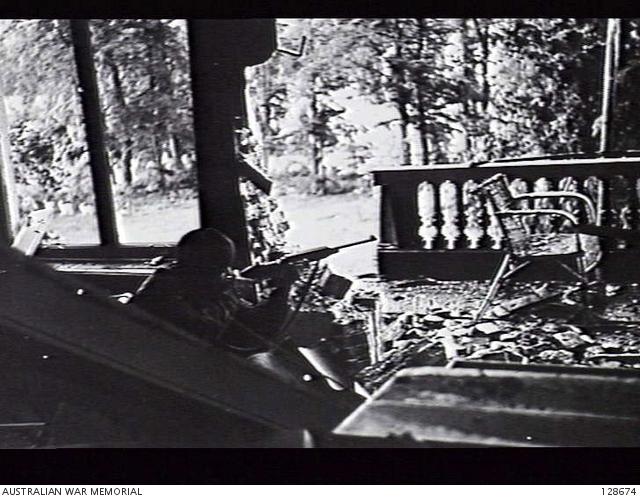
A British paratrooper, Second World War, 128674
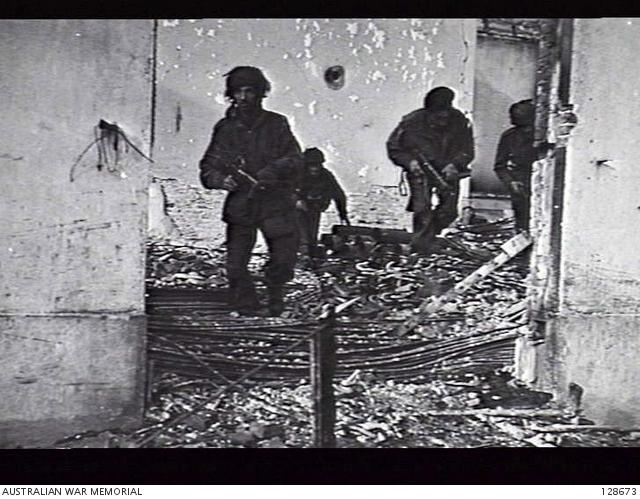
A patrol of paratroopers, Second World War, 128673
A number of Australian aircrew were killed during operations to resupply what would come to be known as the cauldron at Ooosterbeek. They included Pilot Officer Frederick Knight, Flying Officer Charles Hamilton, Warrant Officer Louis Firth and Flight Sergeant William Wheeler. They were part of a C47 Dakota crew who were shot down by German fighters near Eindhoven, with all on board killed. The aircraft hit the ground nose-first and such was the impact that Hamilton’s remains could not be recovered.
22 September:
Tom Hall was in action again, this time conducting an armed reconnaissance of the Veghel-Uden road in the 101st Airborne Division’s sector. He recalled later that “We found motor transport along the edge of the road and we got two flamers [burning vehicles], with others damaged. We did three cannon runs on troops who were running into the woods. These attacks also tended to prune the trees on the edge of the road.”
On landing, the No. 175 Squadron pilots came under fire from German artillery; Hall’s Typhoon received a direct hit – luckily for Hall, after he’d alighted. He watched his aircraft burning from a nearby slit trench. As the fire took hold, the ammunition and rockets still on board began to cook off, with devastating consequences. One rocket tore across the airfield and hit a NAAFI (canteen) van where it exploded, killing five people who were getting a cup of tea.

Rocket-firing Typhoon, 16 October 1944, UK2037
23 September:
Nos. 38 and 46 Groups sent 123 transport aircraft to resupply the beleaguered 1st Airborne Division. The RAF aircraft were subjected to heavy German ground fire and repeated attacks by German fighter aircraft. As a result, 6 aircraft were shot down and 63 others were damaged. The supplies that were dropped were so widely scattered as to be ineffective. This was the last attempt to send in ammunition and supplies by air from England to the men of the 1st Airborne Division.
24 September:
C-47 Dakota aircraft of No. 46 Group, RAF, flying from airfields in Belgium, flew 21 operations to drop medical supplies and food to the British paratroopers, followed by a further seven the next day.
25 September:
Australian airmen continued to fly operations over Arnhem to support the British paratroopers as they withdrew from the cauldron of Oosterbeek. Flight Sergeant Bruce Williams, RAAF, a pilot serving with No. 98 Squadron, RAF, equipped with B-25 Mitchell Bombers, was part of a 12-bomber formation that had been sent to Arnhem to support the British paratroopers as they prepared to withdraw across the Rhine.
Williams’s crew for this operation were his navigator, Pilot Officer Thomas Lennie, a fellow Australian; wireless operator/ air gunner Warrant Officer Frank Bowmaster, a Canadian, and rear gunner Flight Lieutenant Charles Carter, an Irishman.
On completing his bombing run, as Williams turned for home, German Focke Wulf Fw-190 fighters attacked. One beset Williams’ aircraft from below and astern, giving the gunners no chance to properly respond. Despite evasive manoeuvring, the aircraft was hit multiple times, and Lennie was killed. An escape hatch was also badly damaged, trapping Carter in his turret, and the port engine was set on fire.
With the aircraft fatally damaged, Williams ordered the crew to bail out. After unsuccessfully trying to free Carter, Bowmaster forced his way out of the damaged aircraft, and parachuted safely to the ground where he was taken prisoner. The aircraft crashed in flames on the riverbank. Lennie’s body was recovered and later buried, but Carter’s was never found.
Williams parachuted towards the bridge across the Lower Rhine, which was back under control of the SS after being briefly captured by British paratroopers. Troops stationed on the bridge fired at Williams as he descended, and he was killed.
A local Dutch man, Fritz Baars, witnessed Williams’ death, and his body landed not far from Baars’ house. When it was safe for him to do so, he recovered Williams’ body and buried him in his parachute nearby. After the war, Williams was reinterred next to Thomas Lennie in the Arnhem Oosterbeek War Cemetery. The fallen Allied aircrew and servicemen buried on Dutch soil, including Williams, are remembered and honoured to this day by the people of Holland.
Aftermath:
The survivors of the 1st Airborne Division crossed back over the Rhine during the night of 25–26 September. Almost 2,400 men were ferried over the Rhine by British and Canadian engineers, but as dawn broke on 26 September, the Germans opened fire on the river area, preventing the final 300 men from being rescued. These men were forced to surrender.
The 1st Airborne Division and its attached units had suffered terrible casualties. Of the 10,600 men who landed in the initial days of Market Garden, 1,485 were dead and 6,414 had been taken prisoner by the Germans. Of these, more than one third were wounded.
With Operation Market Garden ending in failure, the Allies withdrew to what became known as the Nijmegen Salient. These positions remained largely unchanged until March 1945, when the Allied invasion of Germany began.
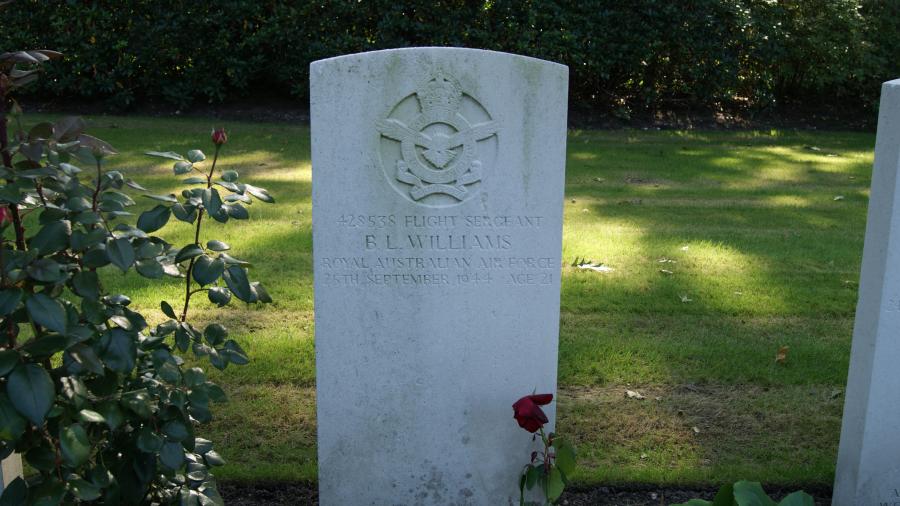
Grave stone for B.L. Williams
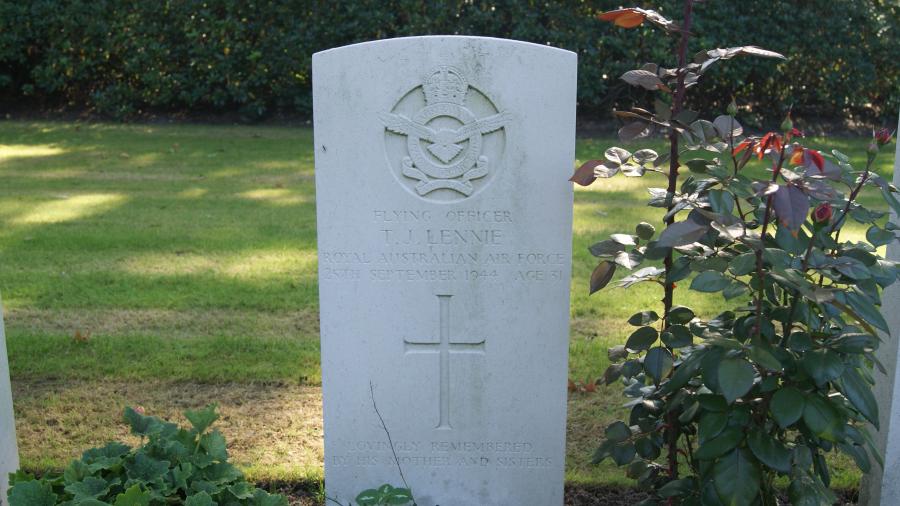
Grave stone for T.J. Lennie
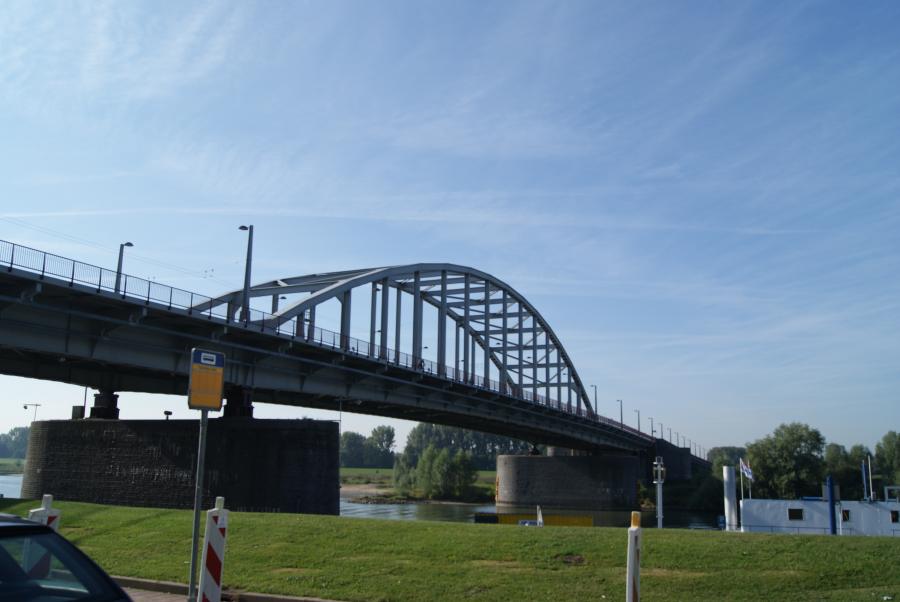
John Frost Bridge, Arnhem, 2006, Michael Kelly
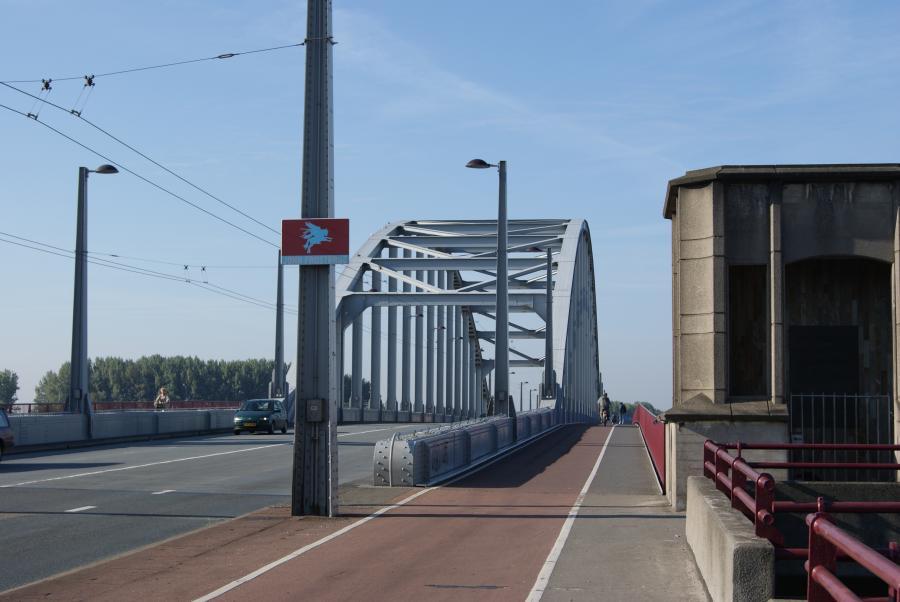
John Frost Bridge, Arnhem, 2006, Michael Kelly