Movement on the Western Front - Dioramas Part 2
Part 2 - Reinforcement and movement
As mentioned previously, the dioramas consist of a number of sections of base framework, some of which are bolted together, some of which are not. Well-hidden behind the display cases, facades and the diorama surface, few still sat on their original leg castors, while many had been trimmed and placed on fascinating, decades-old systems of levelling the individual sections.
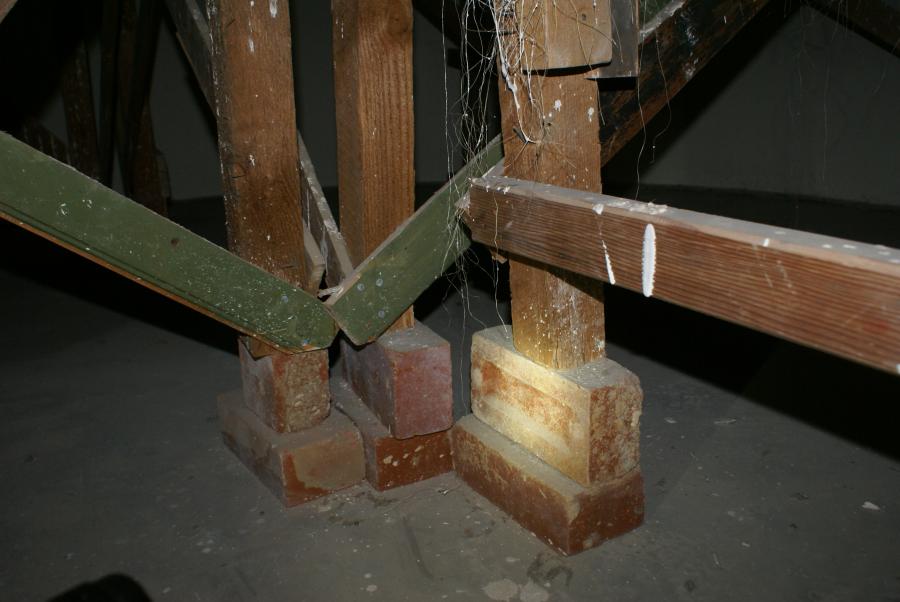
Example of levelling system under Bullecourt and Ypres diorama bases
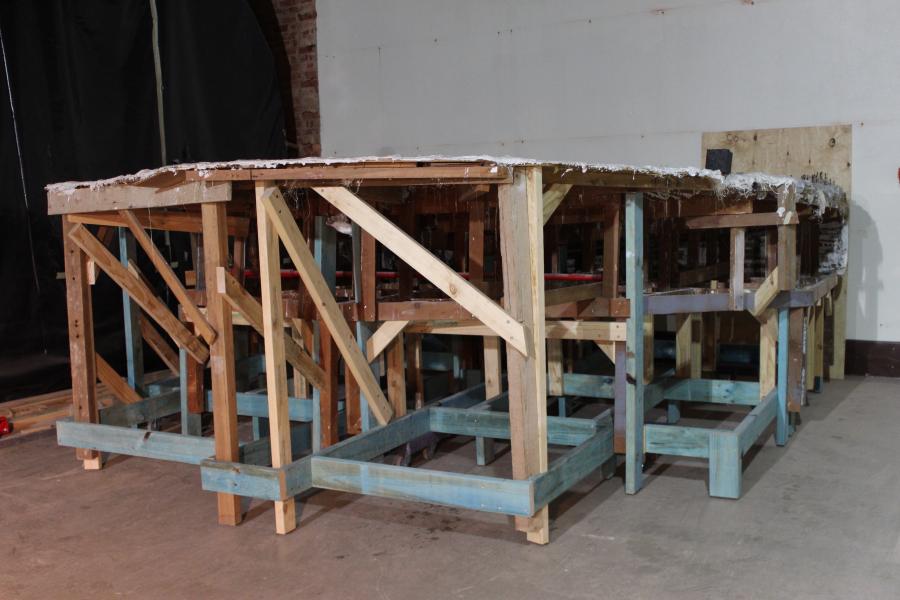
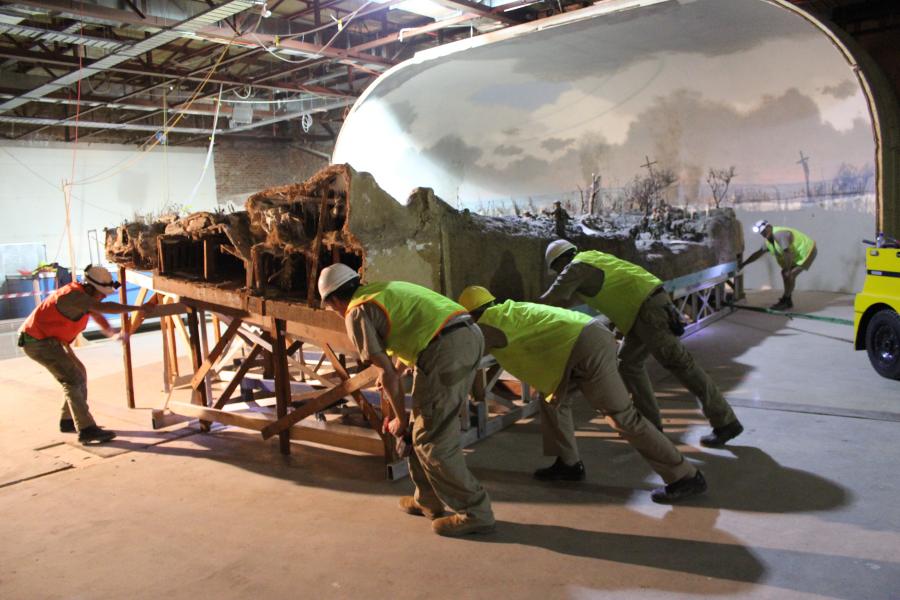
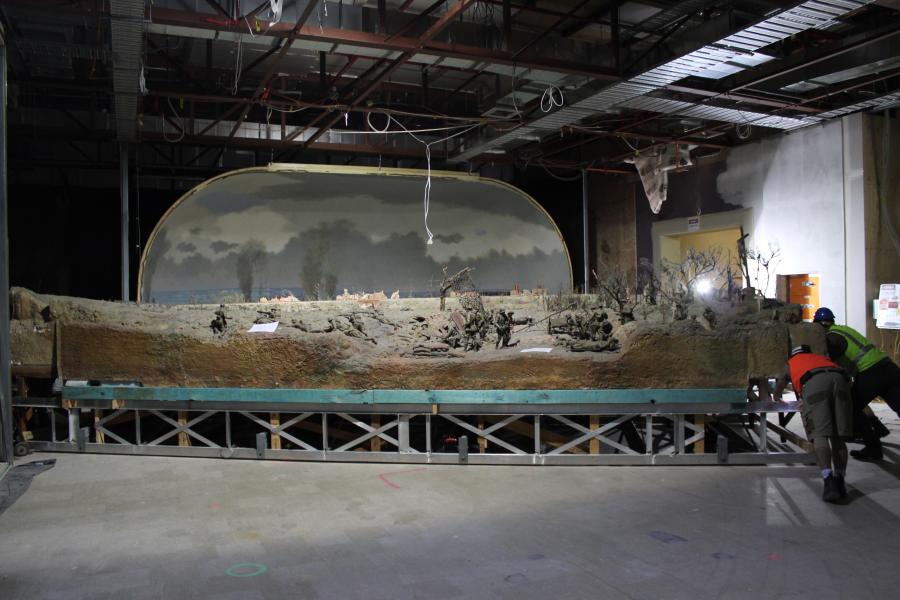
Various bricks, part-bricks (eek!) and timber chocks sat under the legs propping the dioramas up. They were somewhat stable – despite how precarious it looks! But obviously, work needed to be done before it was possible to move any of the dioramas to relocate them in their new positions. Workshop worked for hours under each one (some have more room than others!) to create a solid, structural timber framework attached to the existing timbers so that several sections could be safely moved together. Dernancourt, being far larger than the rest (at around 9 metres wide), and not on its original framework, also required an additional aluminium and steel framework with the help of the tow tractor to move as a whole unit.
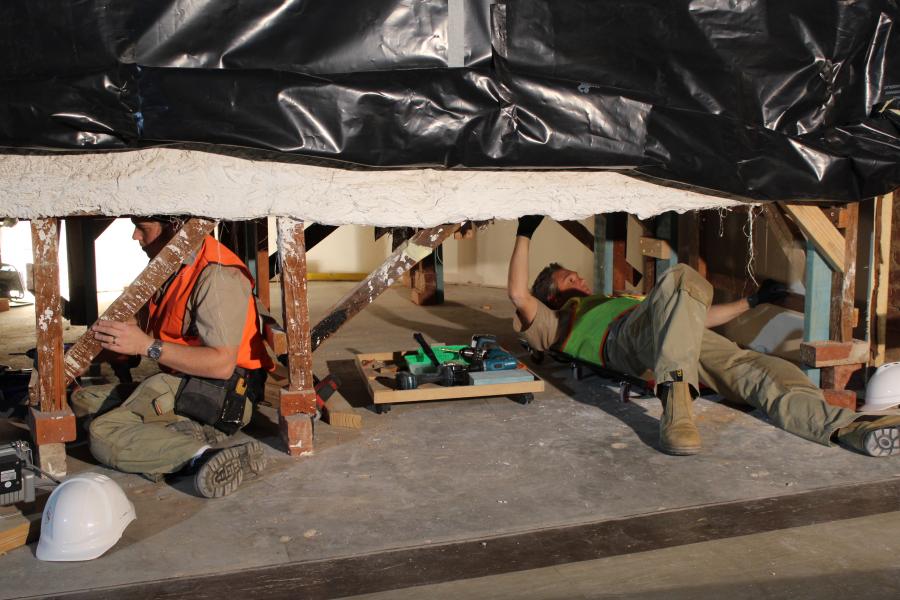
The motion of the diorama base is then achieved by placing trolley jacks to raise the diorama up to insert wheeled platforms (dollies) underneath this strong new framework. The diorama base can then be carefully wheeled about the space.
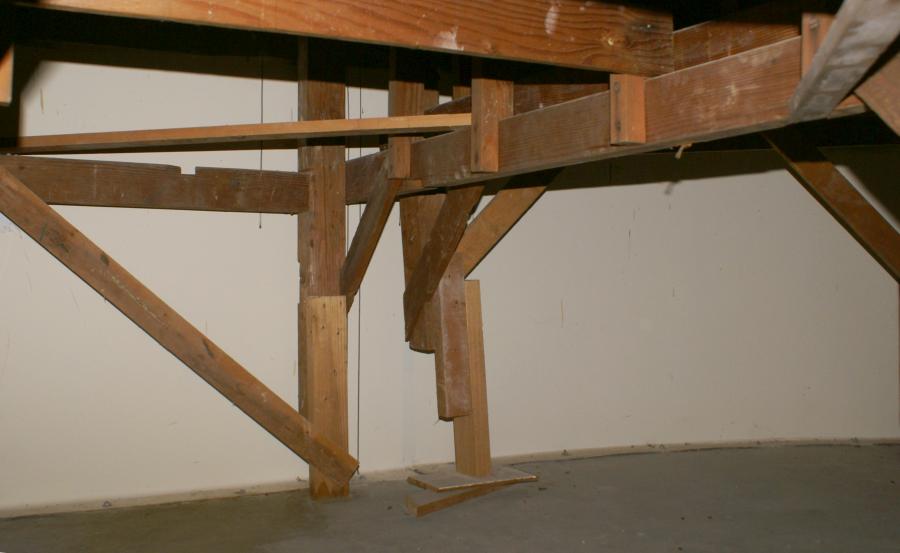
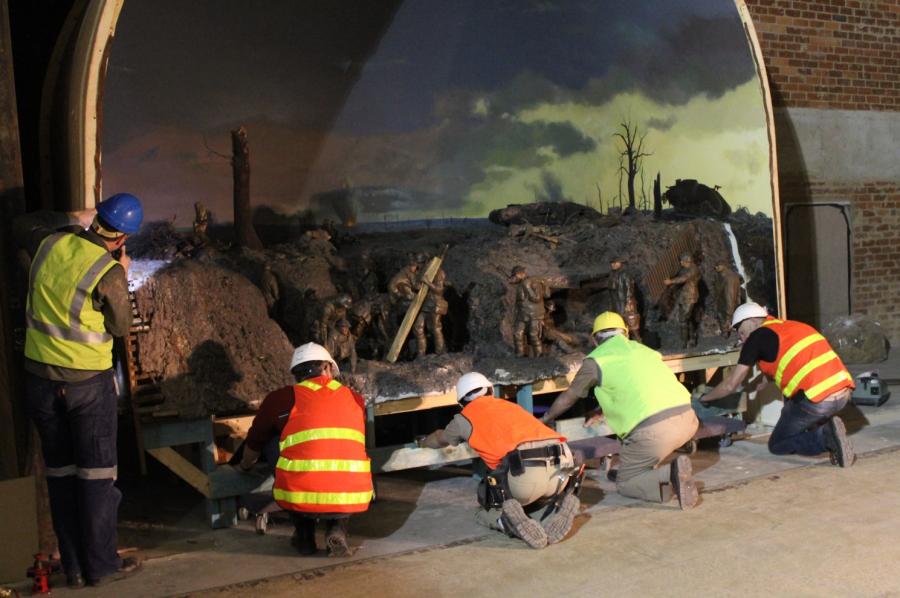
Workshop's new timber framework incorporated to existing Bullecourt diorama base.
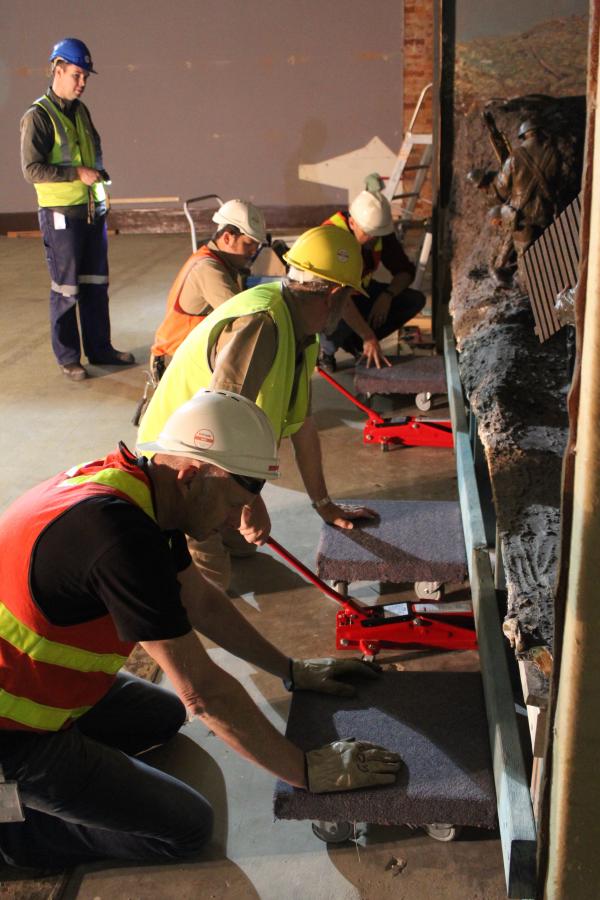
Workshop, Registration and Conservation teams move the diorama bases with jacks and dollies.
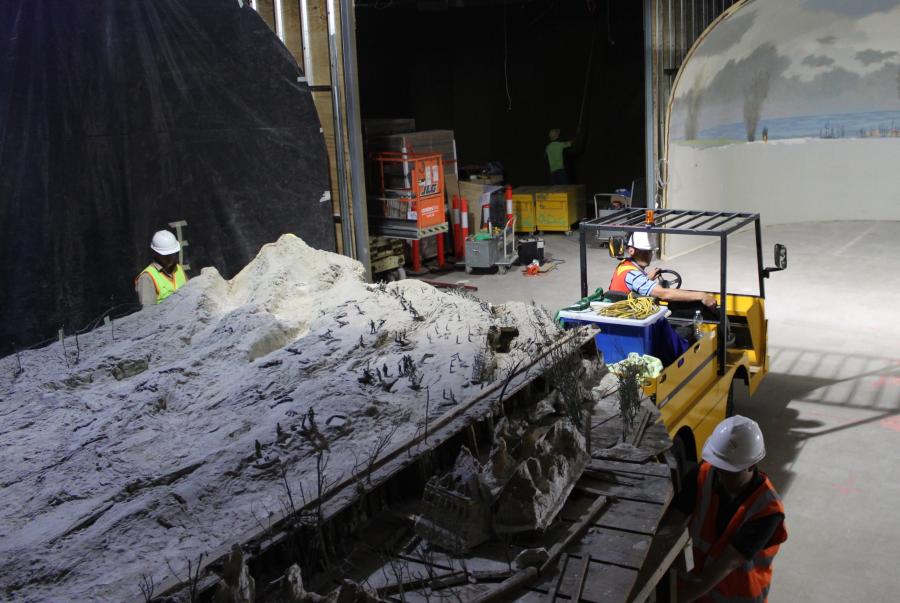
Dernancourt, with additional aluminium and steel framework, required some assistance from Paul on the tow tractor.
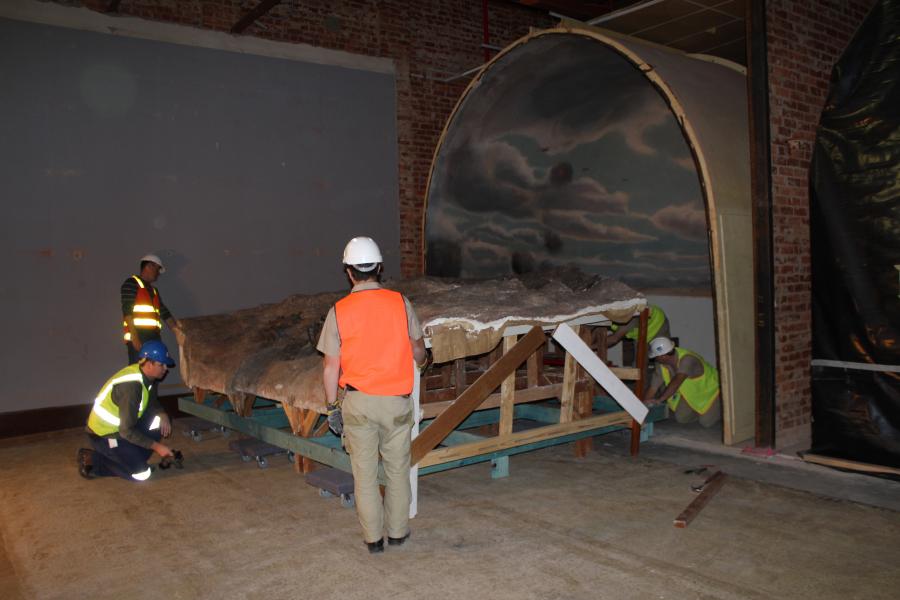
Once the base is removed from within the backdrop (this requires precision movement as they fit very tightly), the movement of each Western Front dioramas' fibreglass ‘domed’ backdrop was then achieved by firstly unbolting it from the floor, temporarily reinforcing the shape with lengths of timber, attaching an ‘L’ bracket system along the lower section, then jacking this up to place dollies beneath and then carefully wheeling to a new position. The dollies, brackets and reinforcement were then removed once the backdrop was secured by cables to the ceiling space (to support the shape), and then the diorama base slowly wheeled back to within the backdrop.
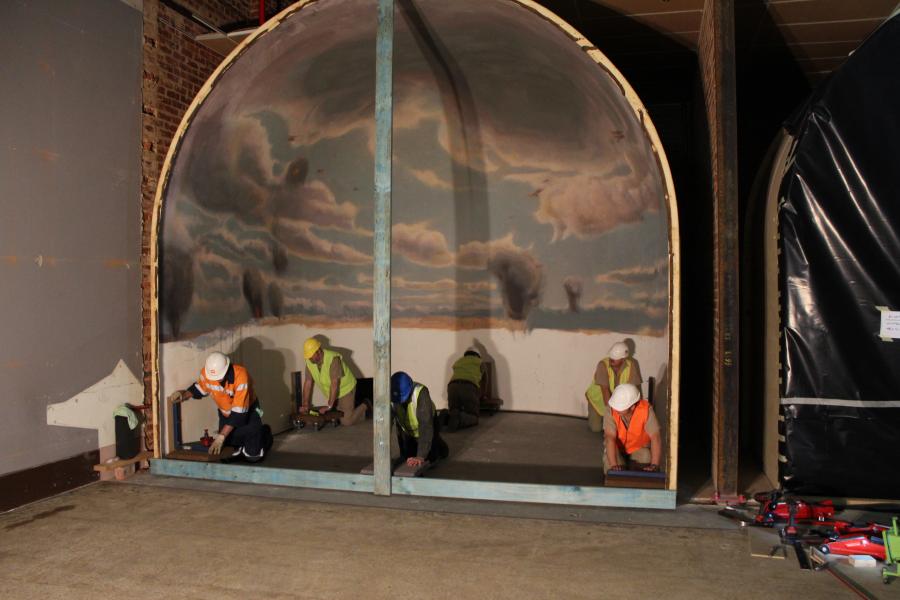
Movement of the fibreglass backdrops.
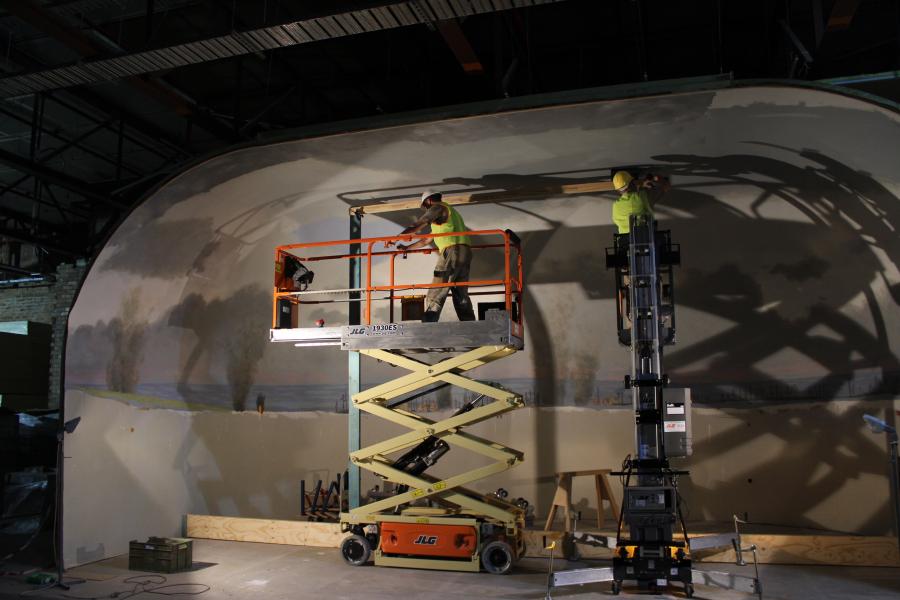
To facilitate Built primary building works, the five Western Front dioramas were each initially moved to temporary locations on the eastern side of that gallery, so that their final location spaces could be prepared (electrical, air-conditioning work in the ceiling and building of the new niche enclosure walls). The movement process was then repeated and the dioramas now sit in their new positions and part-built enclosures, awaiting final position tweaking when the front facades will be installed in secondary building works.
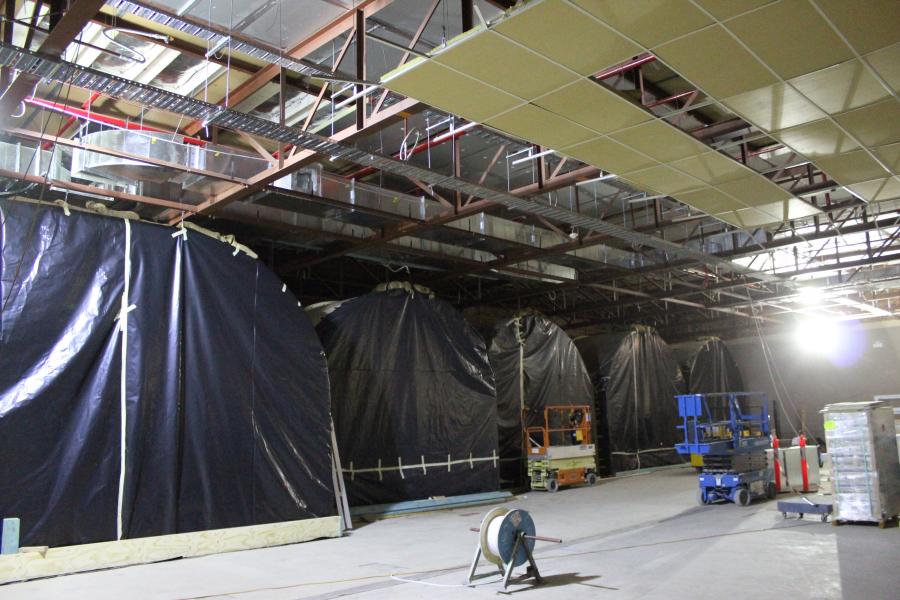
The Western Front dioramas lined up in their temporary positions on the eastern side of the gallery.
Are we sure this fit in here before?! Moving the enormous Dernancourt base back into its backdrop in new location.

Noel and Kasi currently at work on Lone Pine in the Gallipoli gallery.
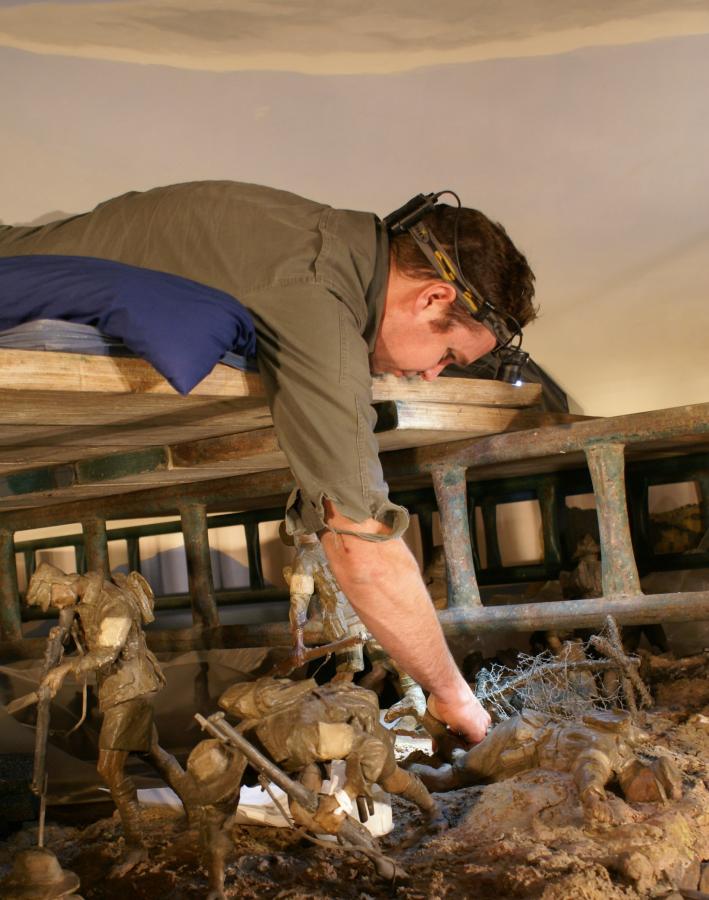
Nick hard at work on Lone Pine.