The Remarkable Story of the SS Automedon
On 11 November 1940 the German raider Atlantis captured her 13th victim since leaving Germany eight months earlier: SS Automedon, a British merchantman.
Upon learning that the Automedon was to be sunk once the boarding party returned, a passenger from the Automedon, Mrs Violet Ferguson, pleaded with the captain to retrieve her luggage first. Kapitan Rogge relented and the boarding party were informed.
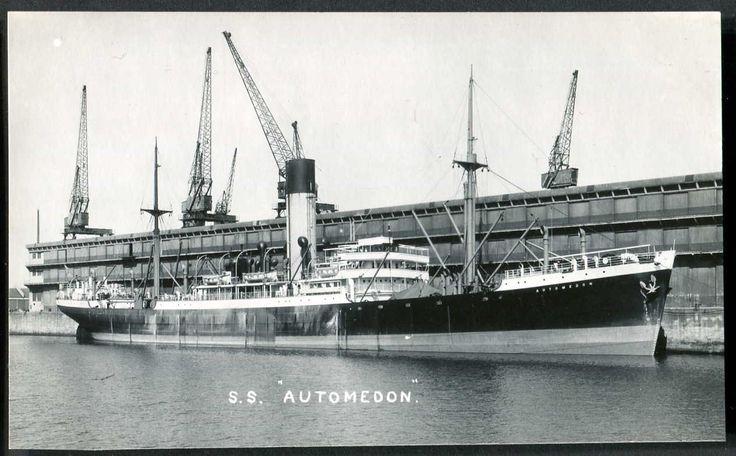
The SS Automedon of the Blue Funnel Line. Photo courtesy of www.wrecksite.eu
Second Officer Donald Stewart had kept the German boarding party from discovering the strongroom but, when Leutnant Ulrich Mohr asked he be shown to the room where the luggage was kept, Stewart was crestfallen. Stored in the same room were 125 British mailbags.
When Rogge and Mohr pored over the find they were astounded at what they had uncovered. In their hands were documents which, if authentic, could alter the course of the war.
British cabinet papers containing a Joint Chiefs of Staff Committee report entitled “The Situation in the Far East in the Event of Japanese Intervention Against Us” and a document entitled “Assistance to the Dutch in the Event of Japanese Aggression in the Netherlands East Indies” admitted that British resistance in the event of a Japanese invasion would probably fail because of Britain’s commitment to the defence against Germany.
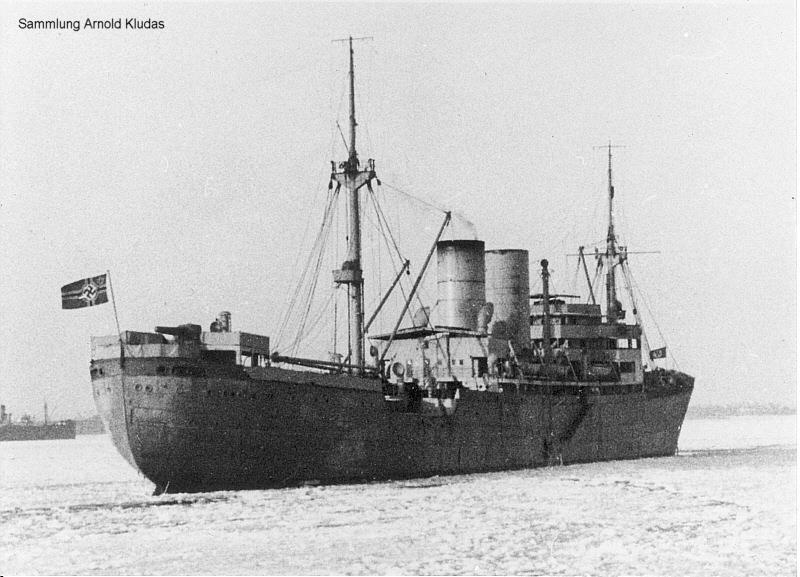
The Atlantis, showing a fake forward funnel used to disguise her silhouette. Photo courtesy of www.schiffe-und-mehr.com
The reports noted that Britain’s defences in Malaya were understrength and lacking in air support, that ‘Japan must know that Britain would be unable to send more aircraft’, and that the British Far East Fleet was seriously understrength. Analysing the commitment of the USA in the region, the Dutch military’s reliability in Netherlands East Indies and Japan’s desire for expansion, the report concluded that Britain must avoid aggravating Japan even if this meant making economic concessions, something that both Britain and the USA had so far opposed.
The mail bags also contained navy cypher tables, Royal Navy sailing orders, government papers, Merchant Navy codes, and other secret documents such as directives, letters, administrative communications, sensitive information, reports and data from the War Cabinet, reports and data from secret services, reports and data from the military, maps and charts, information on minefields and swept channels and several other military codes and cyphers. All were marked “Classified: destroy in an emergency”. The documents contained extremely detailed information on positions and armaments of the Royal Navy and the Royal Air Force, analysis of Australia’s and New Zealand’s roles in the event of Japanese aggression, and detailed information about Singapore’s defences. Rogge, who was fluent in English, realised that he must get the documents to Hitler as fast as possible. He arranged for Mohr to take the captured tanker, Ole Jacob, and the crews of both captured ships to Japan where he would then hand over the documents to the German Naval Attaché who would ensure they were sent to Berlin.
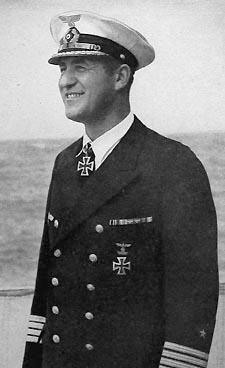
Captain Bernhard Rogge. Photo courtesy of www.wrecksite.eu
After the papers were escorted to Tokyo, they were studied by Admiral Wenneker – who was highly respected in Japanese military and government circles - who quickly realised their significance. He cabled a summary of the contents to the German Naval High Command and requested permission to share the content with his Japanese contacts.
Having received permission in December, he handed over his copies of the documents to Vice Admiral Nobutake Kondo, Deputy Chief of the Naval General Staff, later recording in his diary “As anticipated, the contents were read with extraordinary interest.” Kondo invited Wenneker to join him for dinner that evening and he repeatedly thanked him for sharing the priceless information. According to Wenneker Kondo remarked, “Such a significant weakening of the British Empire could not have been identified from outward appearances.”
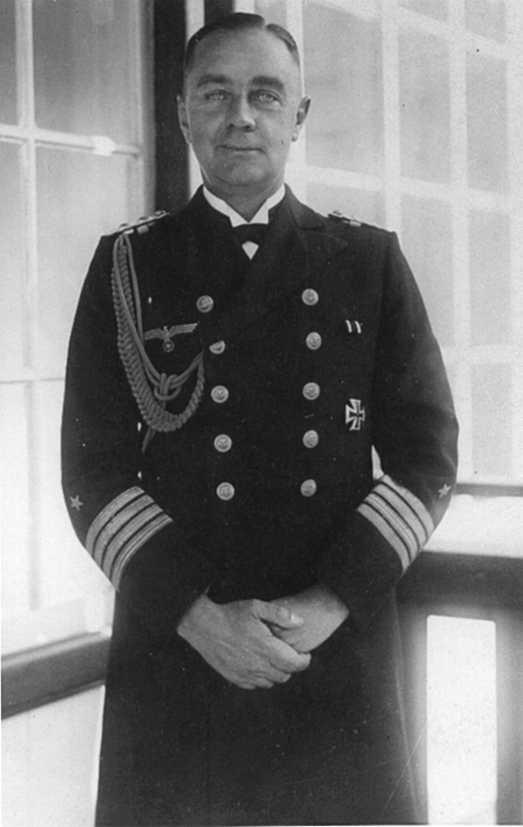
Admiral Paul Wenneker, Germany’s Naval Attaché to Japan. Photo courtesy of deutsches-marinearchiv.de
However it could be argued that Japan did not understand the context of the documents. When the documents were written in July 1940 at the height of the Battle of Britain, the British Chiefs of Staff were far less concerned with the defence of Malaya and Singapore, and had collated the document largely in response to Australian and New Zealand’s request for a defensive plan in the face of possible Japanese aggression. Having since won the Battle of Britain, the British Empire was now in a very different position and had always intended to return to the question of defending her prized possessions in South-East Asia.
Added to this, Japan was in the grip of anti-British and anti-American fervour and it would be difficult, perhaps impossible, for Japanese leaders to make unbiased assessments of intelligence.
Japan had long been interested in the concept of a unified East Asia based on an Imperial Japanese Army concept that originated with General Hachirō Arita, an army ideologist who served as Minister for Foreign Affairs from 1936 to 1940. While the annexation of Korea and the war with China were motivated in part by this ideal, Japan was also seeking reliable sources of natural resources which had been denied them by the restrictions imposed by Britain and the USA. The Japanese military leadership were intimidated by the threat of colonial retaliation if they were to expand their empire to south-east Asia however the documents revealed a hitherto unknown opportunity to strike while the colonial powers were at their weakest. Powerful elements of the military leadership believed if they could quickly establish a defensive perimeter encompassing the ‘South-East Asia Co-Prosperity Sphere’, they would be able to defend it for many years.
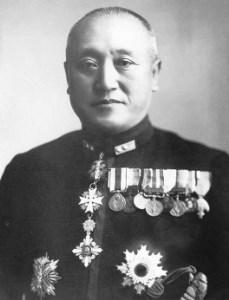
Vice Admiral Nobutake Kondo, Deputy Chief of the Naval General Staff. Photo courtesy of ibiblio.org
With these misunderstandings decisions were made that would lead to the devastation of Japanese power in the region. The Japanese military were neither diplomats nor politicians yet held strong influence over the government of Japan, controlling what information they shared in order to promote their own agenda and losing sight of the fact that Japan relied heavily on America and Britain for capital, technology and natural resources. Germany could not fill that gap and had no desire to provide Japan with anything other than information that would help convince them to join the war. Consequently a train of events were set in motion that would ultimately bring ruin to the Japanese empire.
An indication of the importance Japan attached to the acquisition of the documents can be gleaned from the gifting of ceremonial swords from Emperor Hirohito. These swords recognised outstanding service or dedication to the cause of the Tripartite Pact. The Emperor deemed it fitting to give a ceremonial sword on only three occasions during the Second World War: one went to Hermann Goering - Hitler’s right-hand man and commander of the Luftwaffe. Another went to General Erwin Rommel - the Wehrmacht’s superstar general and architect of the blitzkrieg.
The third went to Captain Bernhard Rogge.
Sources:
-
‘Mrs Ferguson’s Tea-Set, Japan and the Second World War’ – Eiji Seki
-
Lloyd’s of London
-
Wrecksite.eu
-
schiffe-und-mehr.com
-
navy-history.com
-
forcez-survivors.org.uk
-
Axis History Forum
-
History on the Net
-
cia.gov/library/readingroom/docs/CIA-RDP90-00965R000605710002-4.pdf
-
Questis.com/the_automedon_affair