'An inspiration to all'
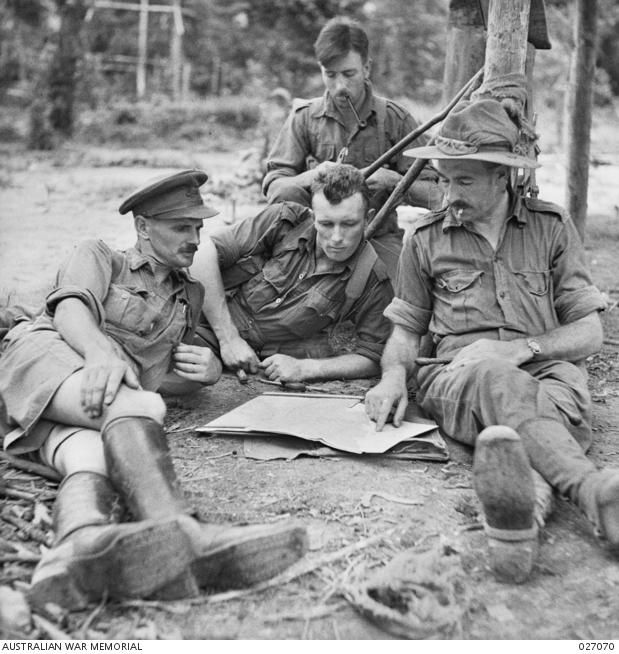
Brigadier Kenneth Eather, pictured above right, during the war. His diary is now on display at the Memorial.
Photo: 027070.
When Brigadier Kenneth Eather asked permission to pull his troops back to Imita Ridge during the Kokoda campaign 75 years ago he was warned, “There won’t be any withdrawal from the Imita position, Ken. You’ll die there if necessary.” It would be the final withdrawal of the campaign.
Kokoda village was eventually liberated by the 25th Brigade’s 2/31st Battalion on 2 November 1942 after four months of intense fighting between July and November.
Memorial historian Dr Karl James said the fighting along the Kokoda Trail has become key to Australia’s understanding and interpretation of Australia’s role in the Pacific War.
“From a strategic point of view, what the Japanese were trying to do is move their way across the Owen Stanley Range along the Kokoda Trail to capture Port Morseby, and then isolate Australia from the United States. The Japanese didn’t want the United States to use Australia as a springboard for an offensive,” Dr James said.
“From the Australian point of view, Kokoda is symbolic and successful because it’s fought on Australian territory by Australian soldiers, largely under Australian command. Many soldiers at the time thought, or felt, that they were stopping a Japanese invasion.
“Kokoda occurs at a very dramatic time in 1942 when the Allies are really on the back foot – particularly from Australia’s point of view – so there’s that drama and tension in August and September as the Australians are withdrawing along the Kokoda Trail.
“It’s physically arduous – it’s the rain and the mud, the climb itself which is hard, the heat and the humidity, the unfamiliarity of the jungle and the ferociousness of the Japanese – so you’re fighting the environment as much as the enemy.”
Australian troops in the Pacific had been on the defensive, conducting a fighting withdrawal along the Kokoda Trail in rough conditions against a fierce enemy. The victory at Kokoda marked a symbolic turning point in the campaign with Allied forces well and truly on the offensive.
There would be three more months of heavy fighting in Papua by both Australian and American forces before the last Japanese troops were cleared from the coast at Gona, Buna, and Sanananda. More than 640 Australians died in the fighting during the Kokoda campaign, and 1,700 were killed in the beachhead battles that followed.
Dr James said Kenneth Eather was a “solid brigade commander, and a successful brigade commander” who took over during the climactic period of the Australian withdrawal.
“He commanded a battalion in the Middle East in 1941, so he is very good. He takes over command of 25th Brigade as a new phase begins, and they come back to Australia and go up to Port Moresby and the Kokoda Trail within days. They’ve had very little time to acclimatise and they are pretty much thrust into action.
“The 25th Brigade and Ken Eather take over the Australian front, just when the Japanese are at their limits. He decides to fall back to Imita Ridge because he wants to consolidate the Australian position, and is given reluctant approval to do so. But he’s very much told, this is it, there will be no more withdrawals, there are no more lines to fall back to. His 25th Brigade then start to push back against the Japanese, and lead the advance, joined by the 16th Brigade, and pursue the enemy back across the Owen Stanley Range. Eventually soldiers from 2/31st Battalion move into Kokoda in November.”
Kenneth Eather painstakingly recorded his thoughts in his diary, sometimes in pen and sometimes in pencil, but always in the same neat cursive writing.
Eather’s diary is now on display in the Orientation Gallery at the Australian War Memorial as part of commemorations marking the 75th anniversary of the Kokoda campaign.
The diary describes the experiences of a front-line commander during the Papuan campaign and exposes the infamous lack of communication between front-line forces and headquarters back in Port Moresby and Australia.
“Good deal of shelling,” he wrote in October. “A number of casualties. Pity our people could not give us some kind of light gun.”
The terrible conditions of the trail, the mud, and the constant rain also feature heavily.
“Rained like hell nearly all night,” Eather wrote.
“Very stiff climb out … track very bad and stinks of death … Track in shocking condition, slush and mud … slow and costly business …
“The Jap is digging his toes in and is hard to move …
“Muddy slippery narrow track, very steep steps … Has been work of wonders to have supplied Potts and others along the track.”
Eather was later appointed a Commander of the Order of the British Empire in recognition of his “gallant leadership, sustained untiring effort and conspicuous skill and ability” in the Owen Stanley Range, where he “set an example of tenacity and endurance which was an inspiration to all”.
Kenneth Eather’s diary is on loan from the Eather family and is on display in the Orientation Gallery. You can read Kenneth Eather's digitised diary on our website.
Dr Karl James’s book Kokoda: beyond the legend is available through the Memorial shop.